

Microsoft’s free upgrade program to Windows 10 is long over. During the free upgrade program, a large number of PCs upgraded to Windows 10 and now Windows 10 powers almost a billion devices on the planet. However, there still are hundreds of millions of PCs out there that still run on an older version of windows. A large number of them are on Windows 7 and Windows 8. Windows 7 users are the most at risk as their OS will be out of support after January 2020. An out of support OS does not get updated with security patches. You know what happens to systems that are not patched, so I will skip that topic entirely for now.
Anyway, if you are thinking of going out there and buying a brand new copy of Windows 10 because you missed the boat with the free upgrades Microsoft was offering, hold up. The next few steps could potentially save you some money. There is a risk that the upgrade will not work for your PC, your computer may not startup or you may lose your files. Please proceed with caution and at your own risk. Remember to backup!
What you need to get started
If you meet the following requirements, you may safely proceed with the rest of the steps:
- A genuine product key for Windows 7 or Windows 8/8.1
- If you do not know the product key, download NirSoft Produkey and the tool will identify your Windows license key for you. Take note of the key detected by the tool.
- Your system must meet the following minimum requirements to run Windows 10:
- Processor: 1 gigahers (Ghz) or faster processor or Soc
- RAM: 1 gigabyte (GB) for 32-bit or 2 GB for 64-bit
- Hard disk space: 16 GB for 32-bit OS or 20 GB for 64-bit OS
- Graphics card: DirectX 9 or later with WDDM 1.0 driver
-
Display: 800 x 600
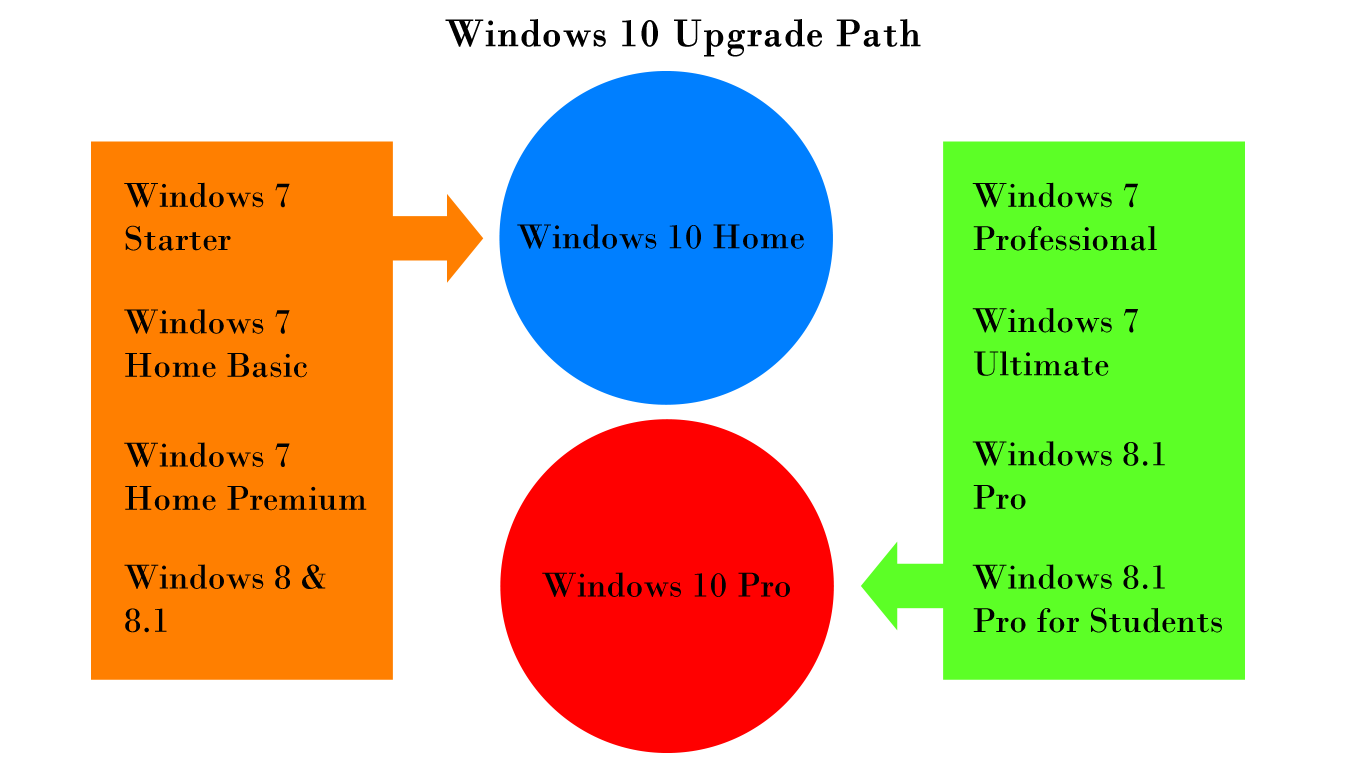
Which edition can you upgrade to?
With Windows 10, Microsoft has two major editions. Refer to the diagram below to know which version of Windows 10 you are eligible to upgrade to based on your current product key.
Pre-Upgrade steps:
Since you missed out on the opportunity to upgrade to Windows 10 with the upgrade assistant from Microsoft, your best option right now is to do a clean install. This means you should now proceed with backing up your files on the drive where Windows is installed. Back them up to an external drive.
Make a list of applications you have installed. Ensure you have the installation media and related license keys for them.
Navigate to your PC / component manufacturer’s website; search their website for Windows 10 drivers available for your particular model. Download all the related Windows 10 drivers. At the very least, you should download the graphics, chip set, ethernet and/or wireless LAN drivers and save them onto a USB portable storage device.
You will also need a separate USB flash drive with at least 8GB of storage space on it. This USB device will be formatted, so ensure you transfer all your files off it elsewhere. If a USB device is not available, you may use a blank DVD for this purpose.
Optional but involving step: If you need an extra piece of mind during this process, you can make an image of your OS drive using a product such as Acronis True Image. If Windows 10 does not treat you well, you can easily revert back this way. More on this in a future article.
Upgrade Process:
Assuming you have completed all the above steps, please proceed with the following steps
- Navigate to the Download Windows 10 page @ Microsoft and click on the Download tool now button
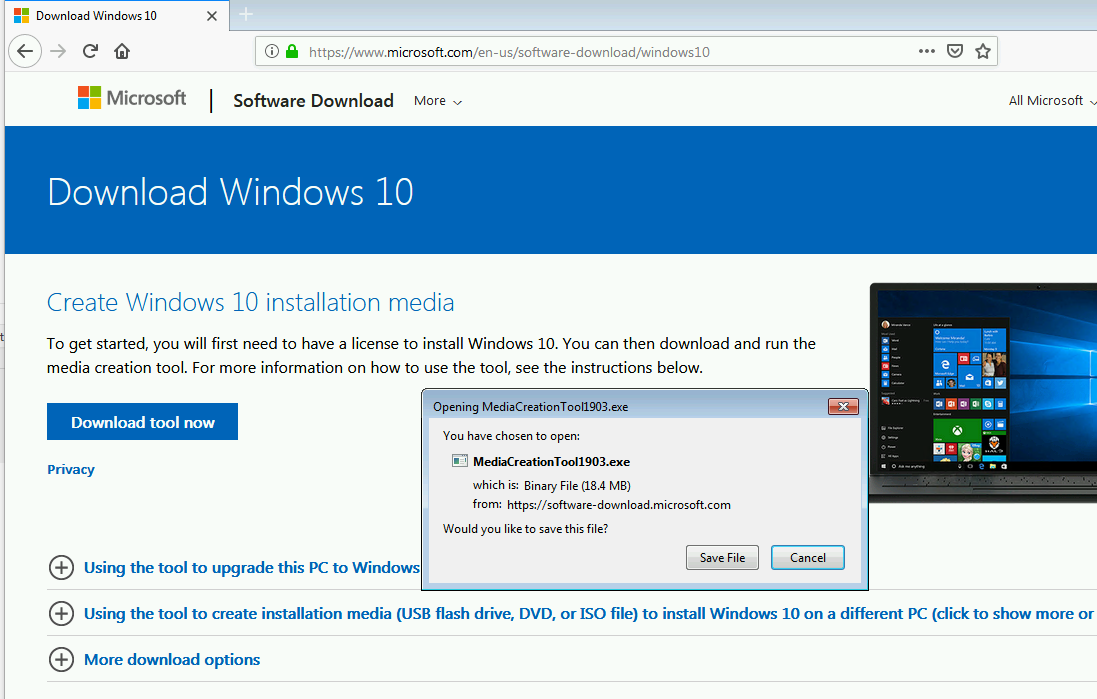
- Run the downloaded executable file, agree the license terms, and then click Next

- When presented with the What do you want to do? screen, click on Create installation media (USB flash drive, DVD or ISO file) for another PC and then click on Next

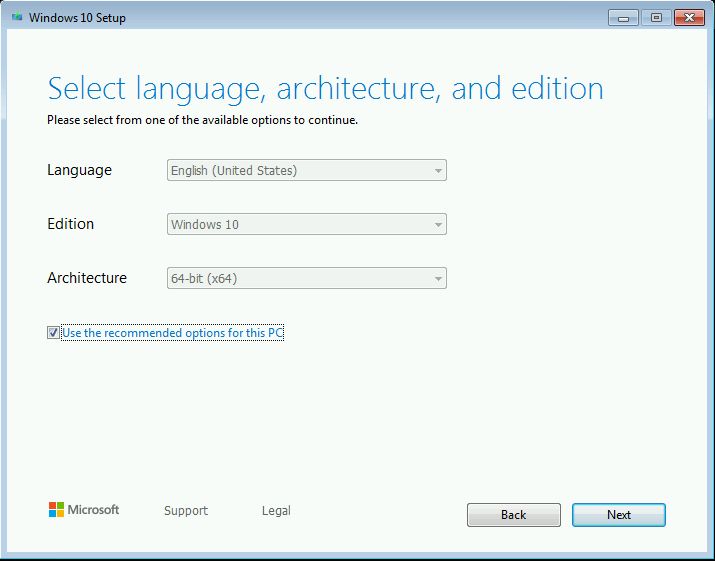
- The setup will automatically set a language, edition and architecture based on your current installation. If you would like to change it, deselect Use the recommended options for this PC, make the necessary adjustments and then click on Next
- On the next screen, select the installation media. If you have a USB flash drive, insert it now into your PC, select USB flash drive and then click Next.
Note: if you opt for the ISO file option, save the file to your local drive and then use the built in Windows Disc Image Burner or a program of your choice to burn it onto a DVD.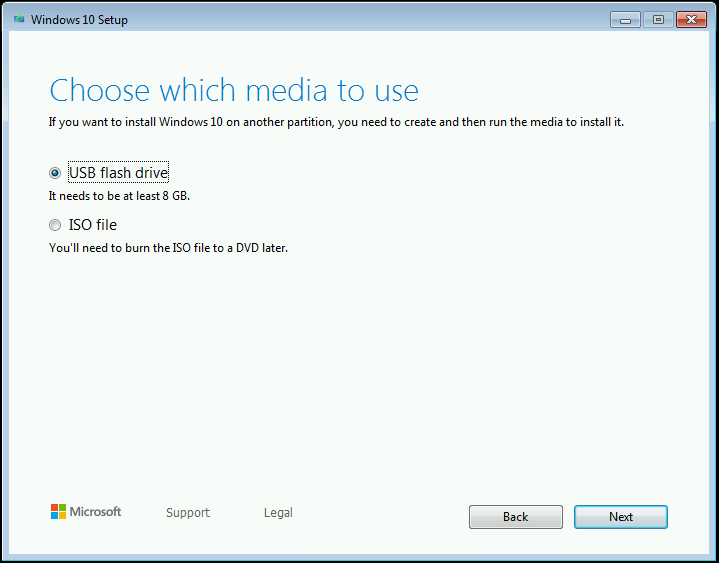
- Select the USB drive that you would like to use for the install and click on Next

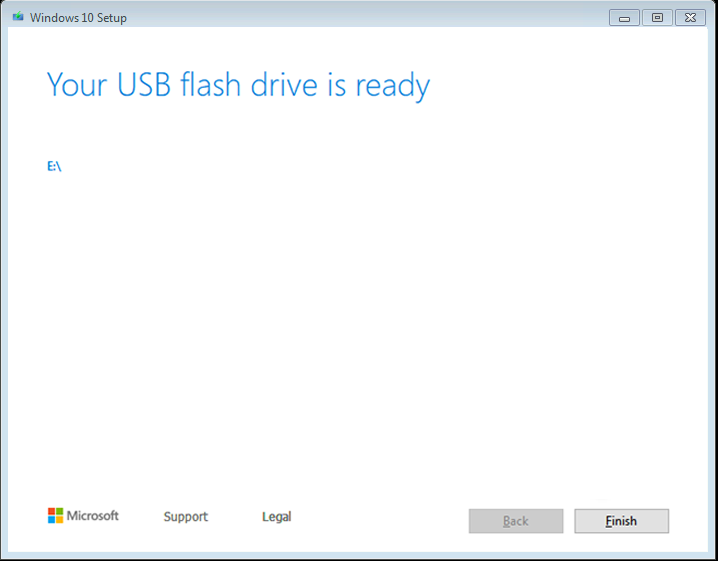
- Windows will now download and build the boot device. Once the following message appears, click on Finish
- Once again, ensure that you have backed up everything you need and then proceed to restart your computer.
- If possible disconnect all physical HDD / SSD drives other than the Windows OS drive.
- When the BIOS screen appears, change boot order or select the boot device as your USB flash drive
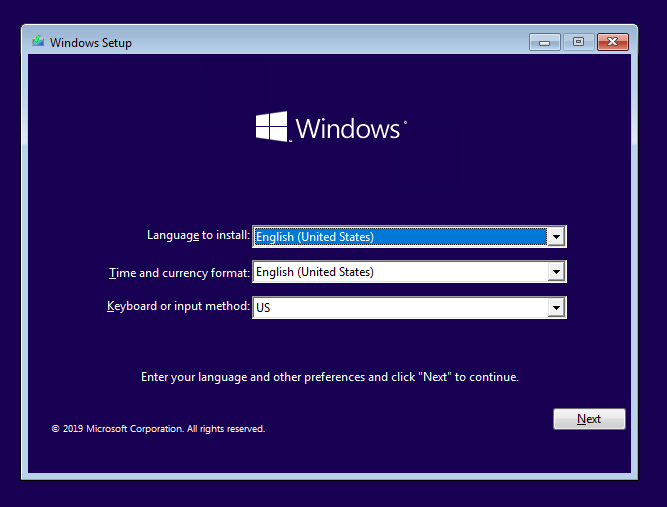
- Windows installer will boot and present with the following screen, select your language and currency (if it’s not already set) and click on Next
- On the following screen, click on Install Now. Setup is starting screen will appear

- Activate Windows screen will appear. Here, in the text field, enter the product key you have obtained for Windows 7 or Windows 8/8.1 earlier and click Next

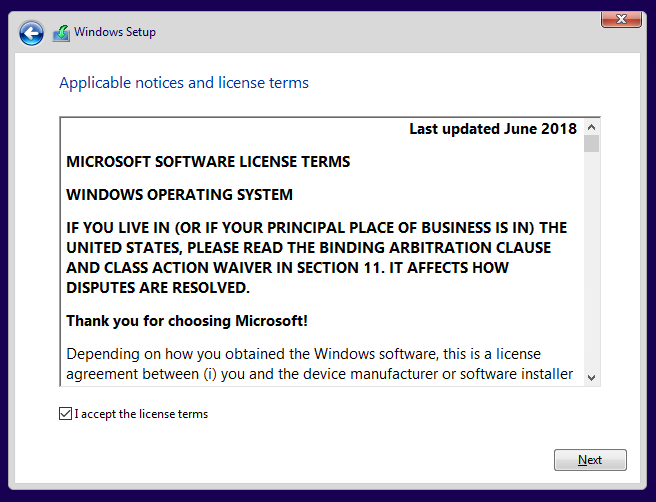
- Read the terms of the license agreement, click on I agree the license terms and then click on Next
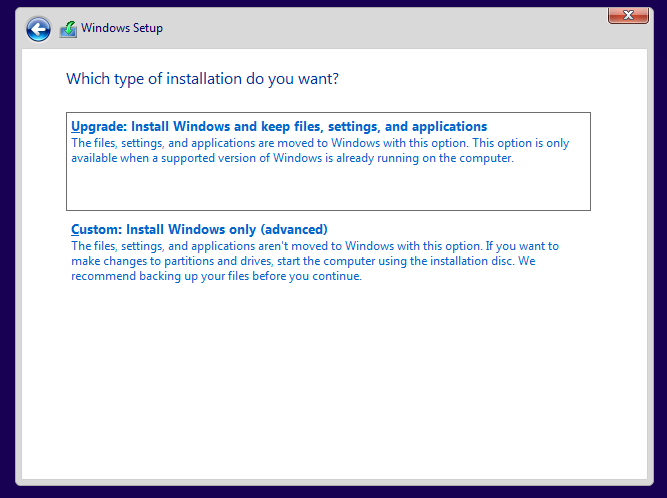
- Next screen will present with options on the type of installation, choose Custom: Install Windows only (advanced)
- On the following screen you will be presented with options on where windows should be installed. Note: one of these volumes may be the recovery volume your device shipped with. This recovery tool will recover your device to the previous OS version that it shipped with. You may choose to delete this partition or keep it. Deleting it may recover some space for your use but this will make installing the previous OS version difficult and you may need to download the installer through other means.
 If you have any additional physical drives attached, ignore them or disconnect them (as mentioned earlier). If you only see drive 0 and various other partitions within it (as shown below), you may safely delete all the other partitions except for the recovery volume. If you have several drives listed (such as drive 0, drive 1,etc.) and various other partitions, determine which drive contains the previous Windows installation and delete the partitions within it. If you are unsure, do not proceed any further and reach out to us in the comments. To delete partitions, select the name, click the Delete button and then click on OK for the warning message as shown below.
- Repeat the same on all the partitions on the same drive (except recovery) and you will be left with Drive 0 (or drive x) with Unallocated space (you may see other drives, but ignore them).
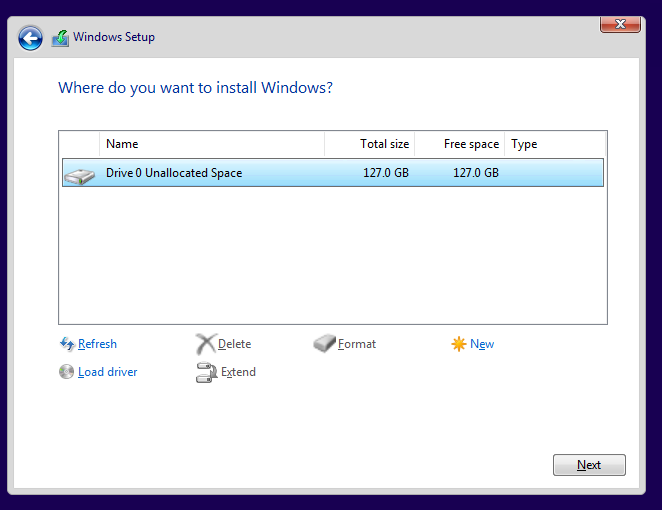
- Click on Unallocated space, then click on New and then click on Apply
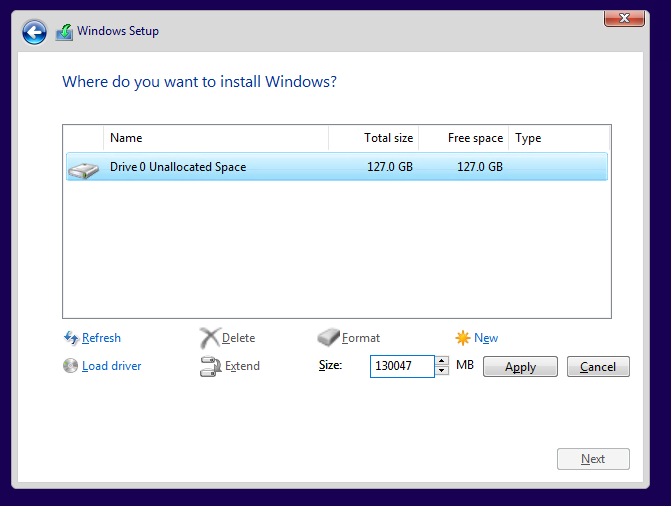
- The following message will appear. Click on OK

- Windows setup will create the necessary partitions and highlight the primary volume for Windows installation. Click Next

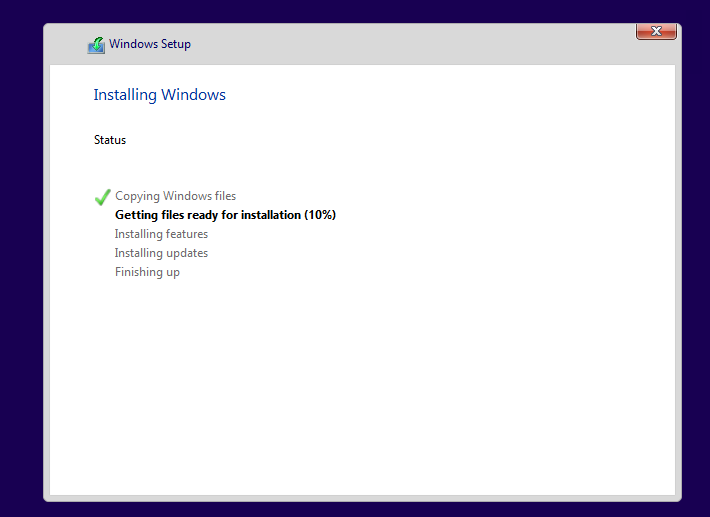
- Windows will now begin the installation process and restart several times as required. This may take about 30 – 60 mins.
- Follow onscreen instructions to setup your account.
- Once on the Windows desktop, install your drivers for graphics, ethernet, wireless LAN card and then shutdown your computer
- Reattach all physical HDD/SSDs that were previously disconnected
- Power your PC back on
- Navigate through Start –> Settings –> Update and Security –> Activation and windows should be automatically activated

- Install other system drivers if required. Windows 10 should automatically install most of them
- Proceed with the installation of applications and restore all files that were previously backed up.
Congratulations for having successfully upgraded to Windows 10. Enjoy the ads from your desktop.